
 0 ITEMS IN CART
BROCCOLI: FROM SEED TO MARKET
09/15/17 — Heydon Hatcher
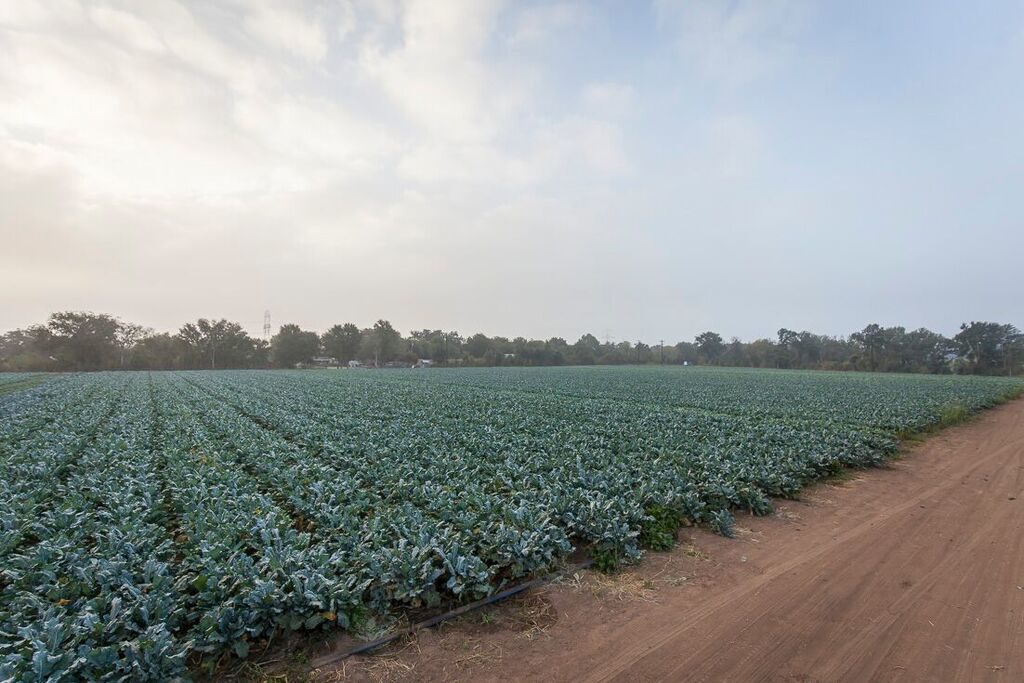 Broccoli field. Photo by Scott David Gordon.
As we ease into the Fall season, this week we are taking a journey with the Brassica family darling, broccoli. We are going to travel from seed all the way to the market stand with this cool weather-loving crop. There is a meticulous and carefully choreographed convergence of two farm systems that makes the magic of broccoli happen out at the farm. The tillage team works out in the field readying the beds as the greenhouse team grows the broccoli transplants, and they come together at exactly the right spot at the right time. There is little room for mistakes, and our expert team has the crop coordination down to an art.
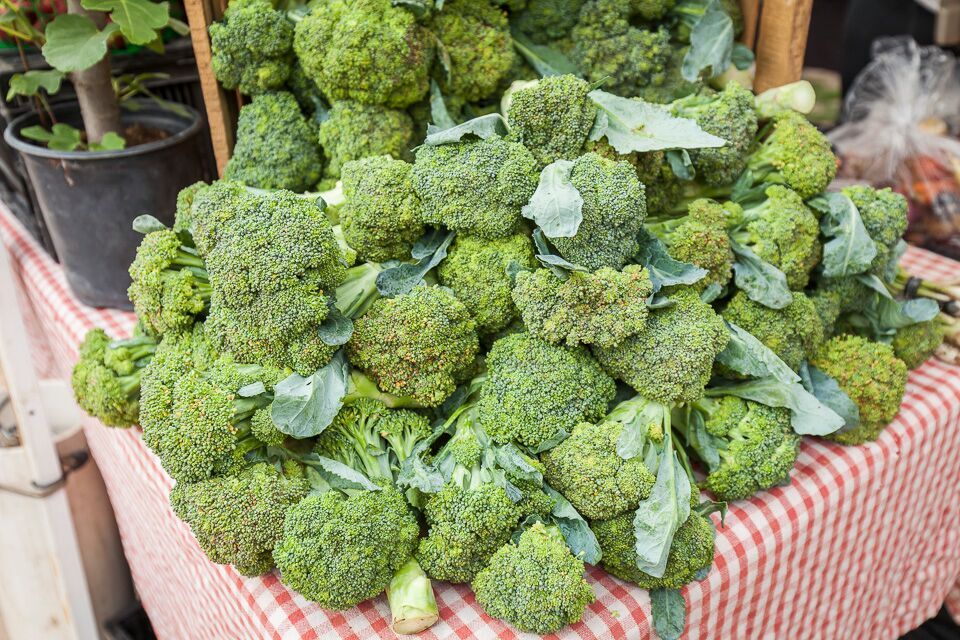 Market broccoli. Photo by Scott David Gordon.
SEEDING
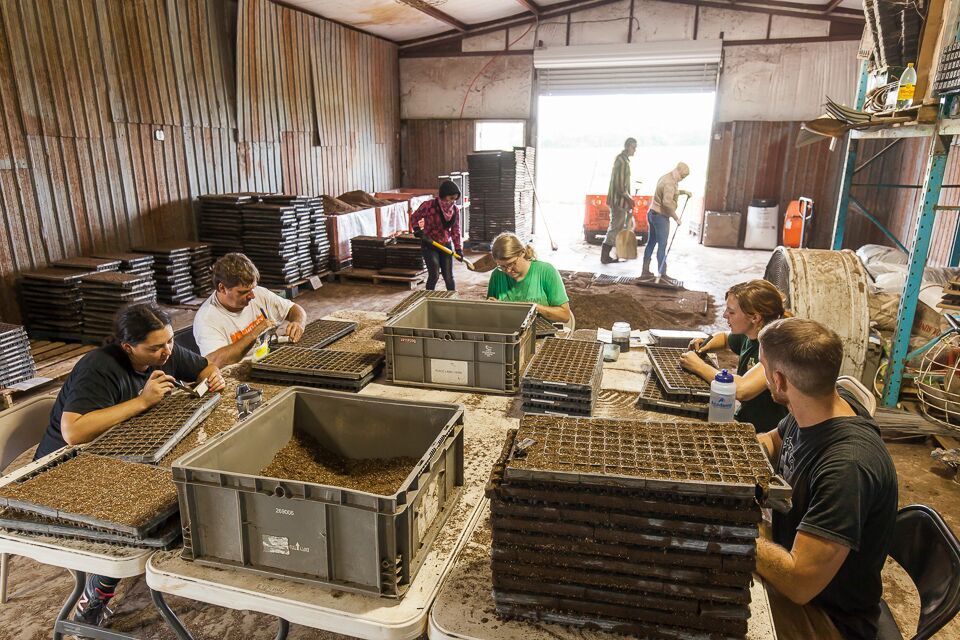
Becky, our farm manager does the crop planning. Based on demand she uses average yield and weather information to plan how many beds of a crop like, broccoli, need to be planted each week. Once the weekly planting plan is set, she works with Kirby, our greenhouse manager to schedule seeding the transplants the correct number of weeks in advance. Broccoli takes 4 weeks from seed to be ready to plant-- but depending on weather it can vary. Based on the seeding plan, Kirby figures out the seeding schedule, along with how many trays and soil material he will need.For the batches of soil, we order in pallets of peat moss, vermiculite, and compost (which we already have on site)... then we mix them! We fill the trays with that soil, a process which the volunteers help with immensely as the greenhouse is a volunteer-powered operation most of the time.
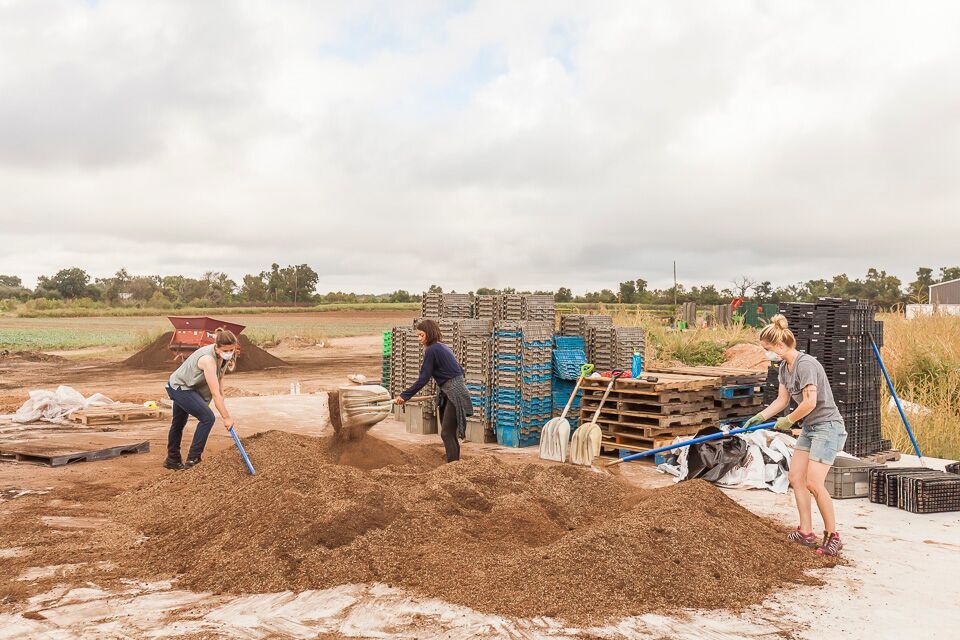 Mixing soil. Photo by Scott David Gordon.
Then we seed. Some crops you have to hand seed (put seeds in every cell by hand), but for broccoli seeds, the process works very well in the vacuum-seeder. This contraption is a plate with 128 holes which matches up to the 128 cells on a tray. They hook a vacuum up to said plate, it creates suction… we pour the seeds onto the plate and roll them around, so every little suction hole gets a seed on it. Once every hole has a seed in it, then the plate gets flipped over, we turn off the vacuum, and every seed finds a spot perfectly in each cell of the tray. Magic! We can seed almost 100 trays in an hour compared to the 8 to 10 trays per hour that get done via hand-seeding.
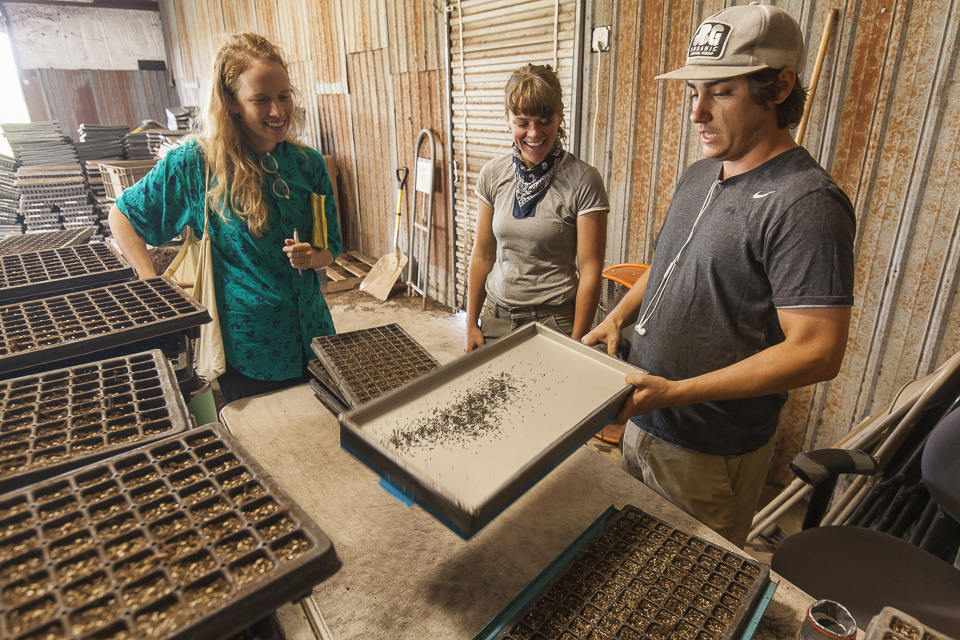 Julian showing off the magic of the vacuum seeder. Photo by Scott David Gordon.
We then top the trays with topsoil, and put them out in the greenhouse to germinate in blocks. This is where our greenhouse manager, Kirby, has to do a lot of monitoring and watering of these crop babies, until they are ready to be loaded onto the trailer and transplanted into the beds.
 Direct hand seeding. Photo by Scott David Gordon.
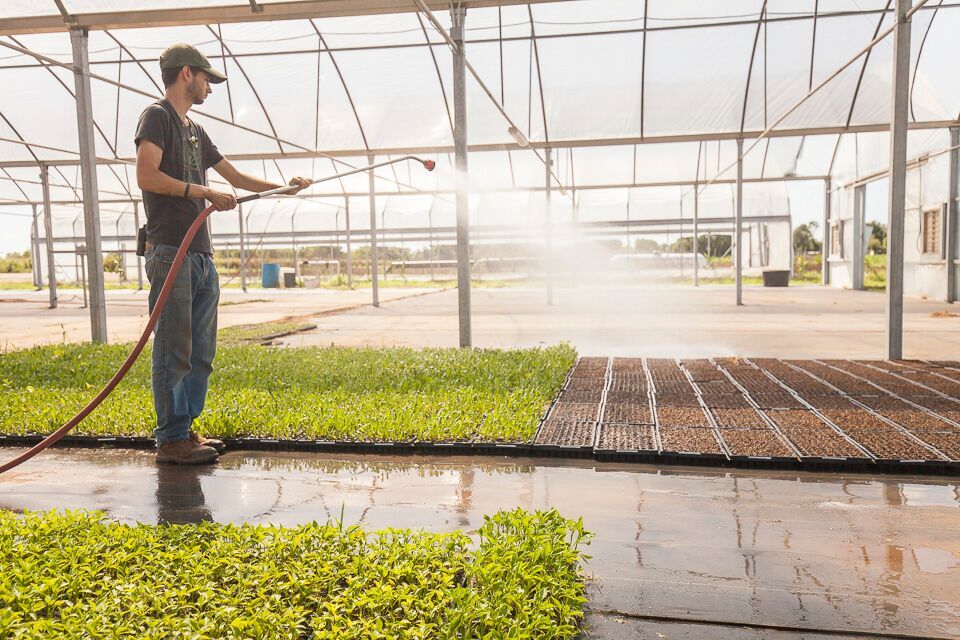 Kirby watering in the greenhouse. Photo by Scott David Gordon.
BED-MAKING
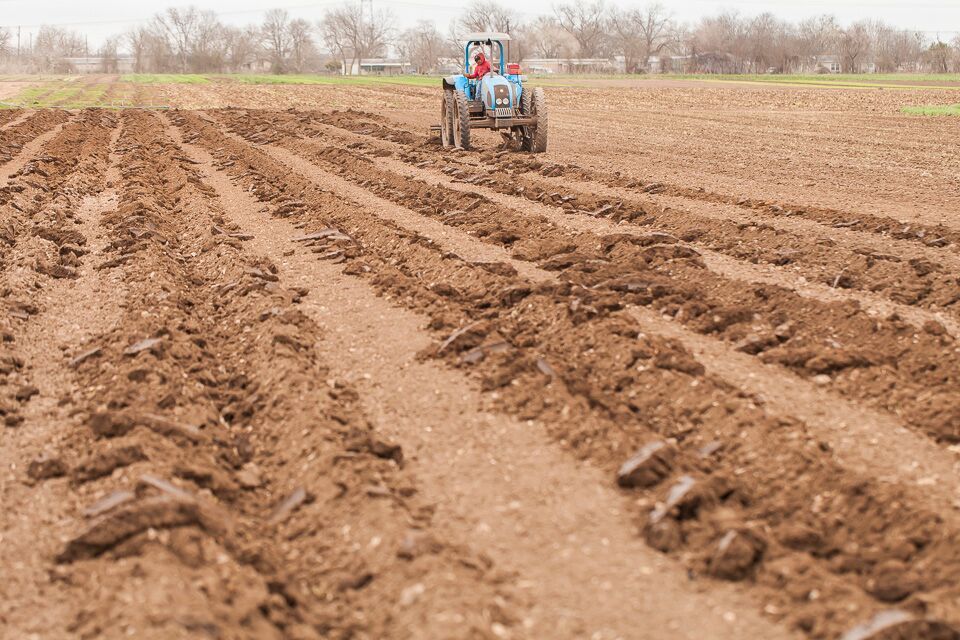
When we start the bed-making process, we usually rip a block of soil depending on what the block was used for previously. This process gets down really deep, creates better drainage, and makes space for new roots to set. After this, we usually disk the field. This slices up the soil, breaks up clods, chops up plant matter and residue so that it can be more easily incorporated into the soil.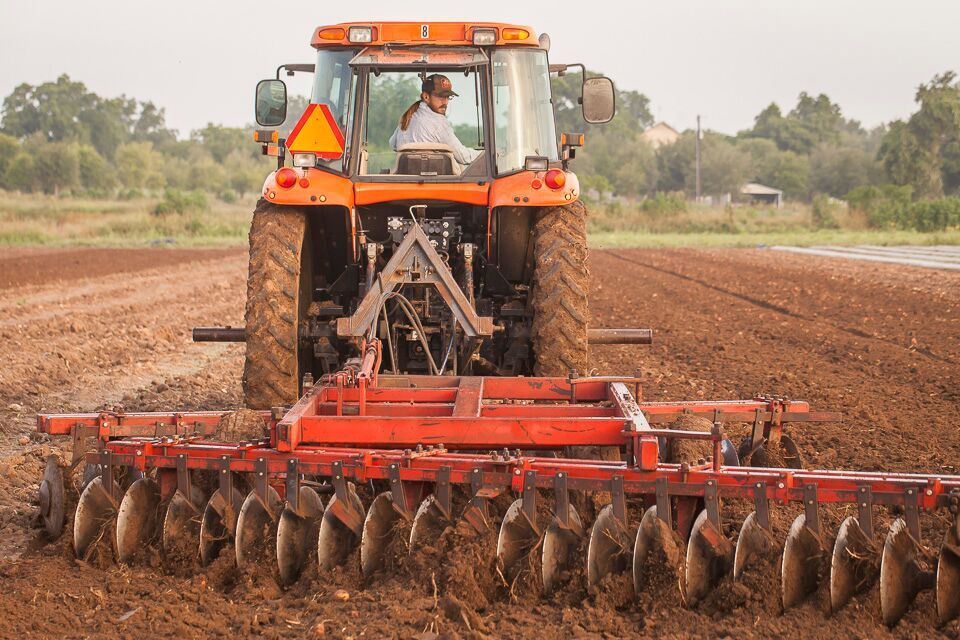 Montana on the disker. Photo by Scott David Gordon.
Next we use the listers, which start shaping the beds. It pulls soil from the furrows and dumps it into the center of the row. We have single listers and triple listers on the farm (fun fact: Brenton painted a picture of a lister for the Prizer Gallery Farmer as Artist show!). This implement scoops soil and keeps it in the center -- so we have the beginnings of a raised bed, albeit a very, very rough one. After we list the beds, we usually add fertility. We use the compost spreader for this which looks like a big red bucket wagon. It spreads the compost at an even rate across all the fields so it’s all very equally distributed.
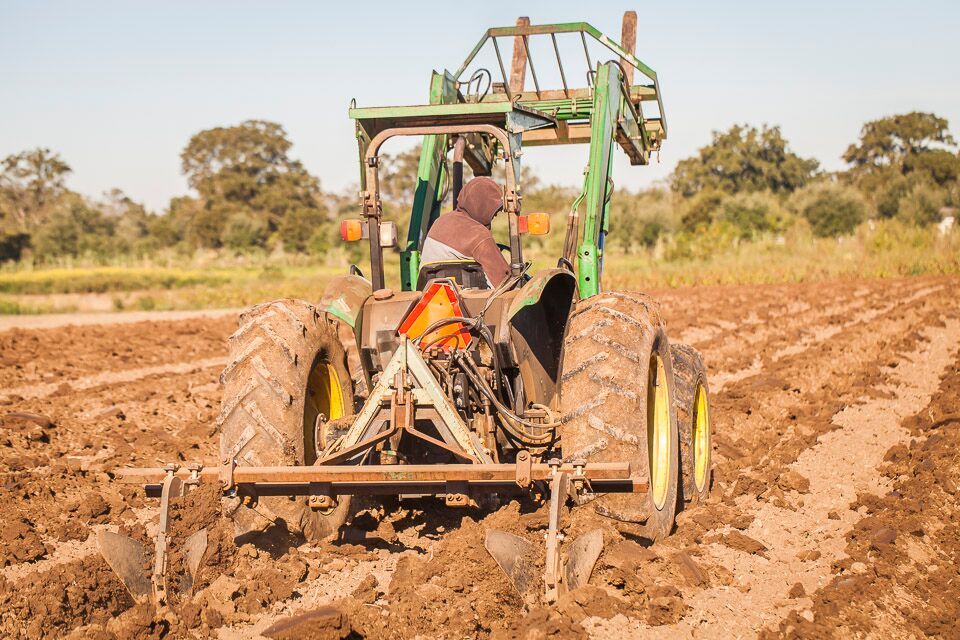 Lister. Photo by Scott David Gordon.
 Listed. Photo by Scott David Gordon.
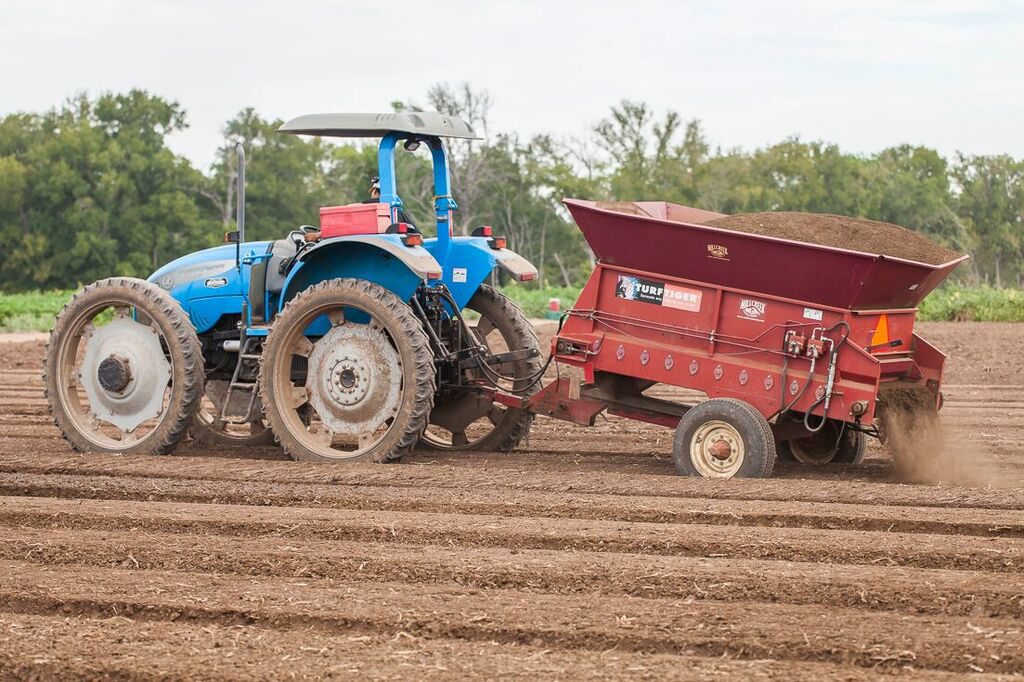 Compost spreader. Photo by Scott David Gordon.
Then comes the tilling. The tiller has tines (just like a regular garden tiller) which help incorporate the fertility.
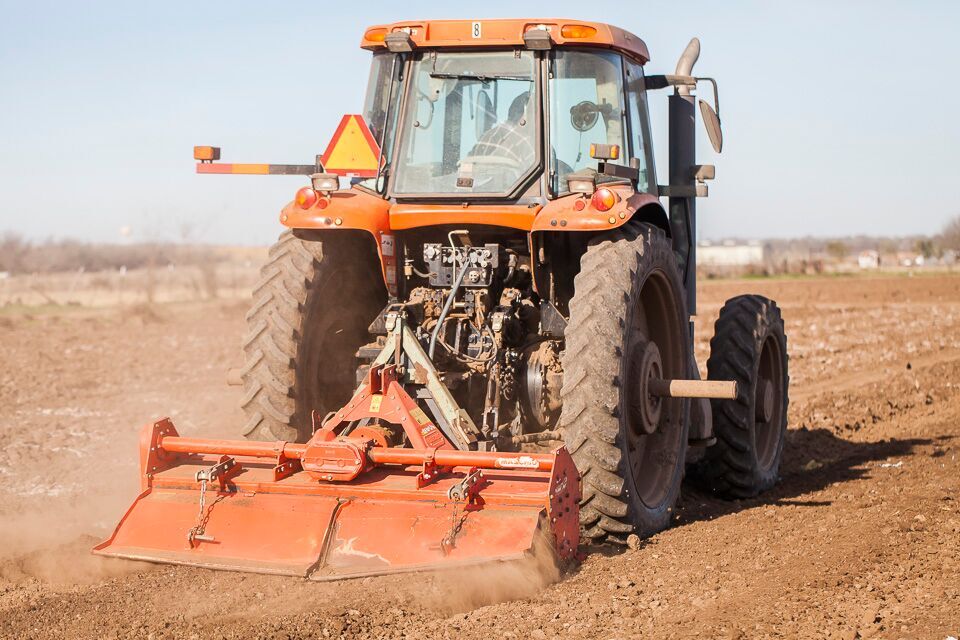 Tiller. Photo by Scott David Gordon.
The last step is the bed-shaper which goes over the top of the bed and has a very fine-tooth. It creates perfectly smooth, perfectly shaped beds. It is the finishing touch before we go through and lay drip tape.
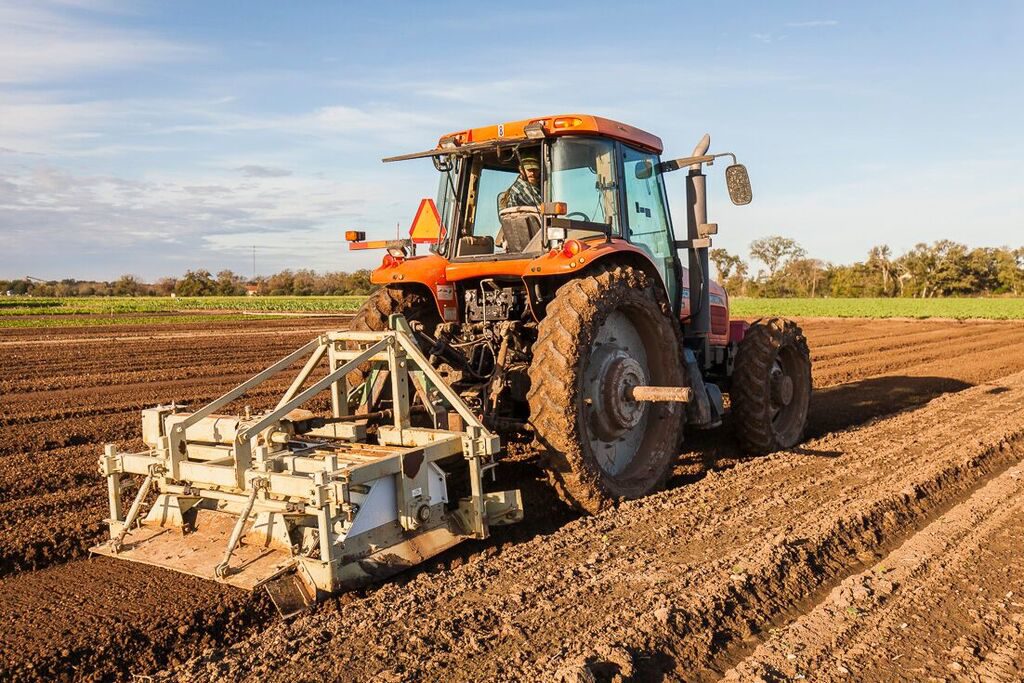 Bed-shaper. Photo by Scott David Gordon.
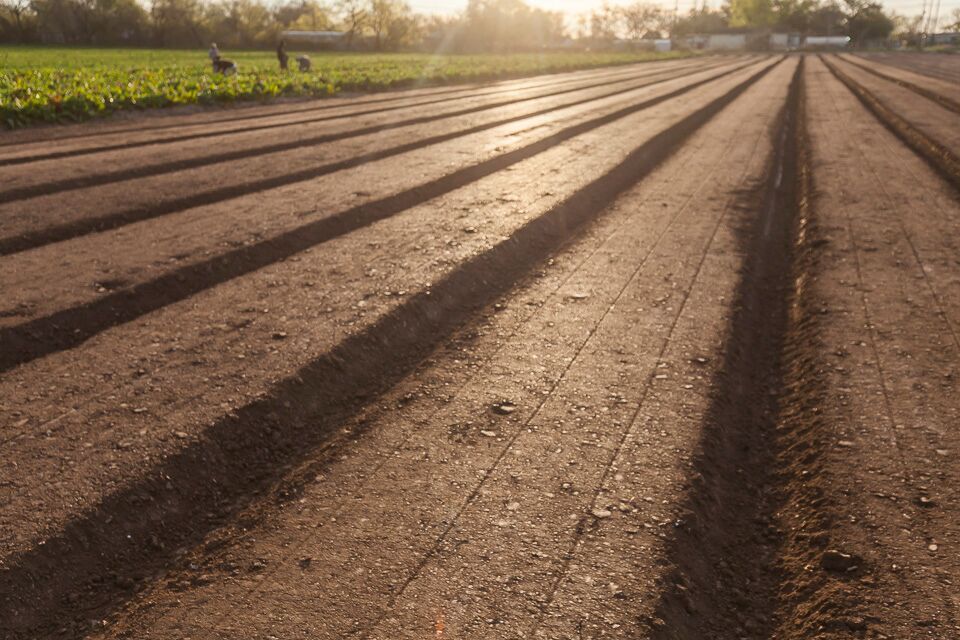 Smooth bed. Photo by Scott David Gordon.
Then Temo comes in with the drip-tape shanker. The drip tape lines are secured right underneath the soil. This is so it doesn’t blow around in the wind, and it also helps the water move osmotically through the soil. This is so that we get a more moist and even watering. Finally, we come through with the transplanter. We plug in all the plants on either side of the drip tape. Yeehaw!
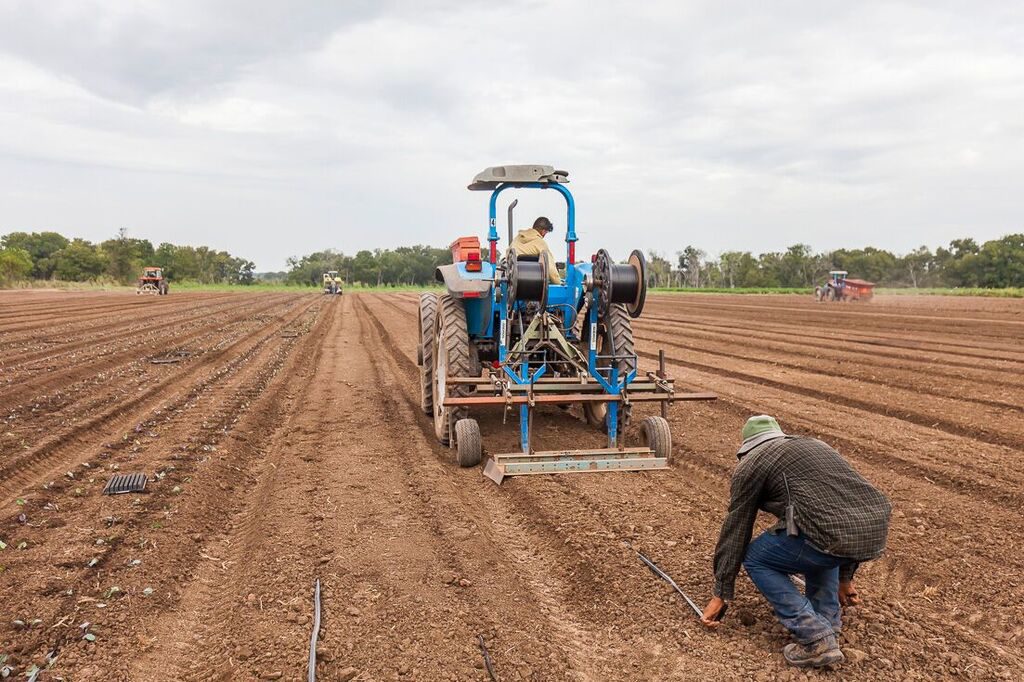 Drip tape shanker. Photo by Scott David Gordon.
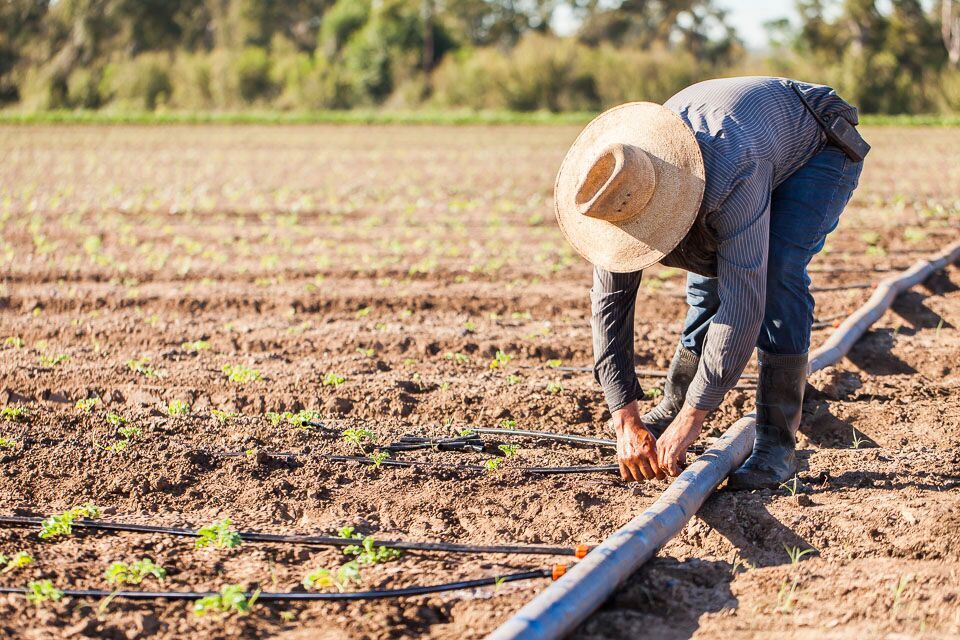 Making sure the drip tape is secure. Photo by Scott David Gordon.
Transplanting, Harvesting, Storage, and Market
Once the broccoli is ready in the greenhouse, we bring them out on trailers, and load up the transplanter. Two folks sit on this machine and plug in the plants by hand whilst someone quickly hands them the transplants as they move down the fields.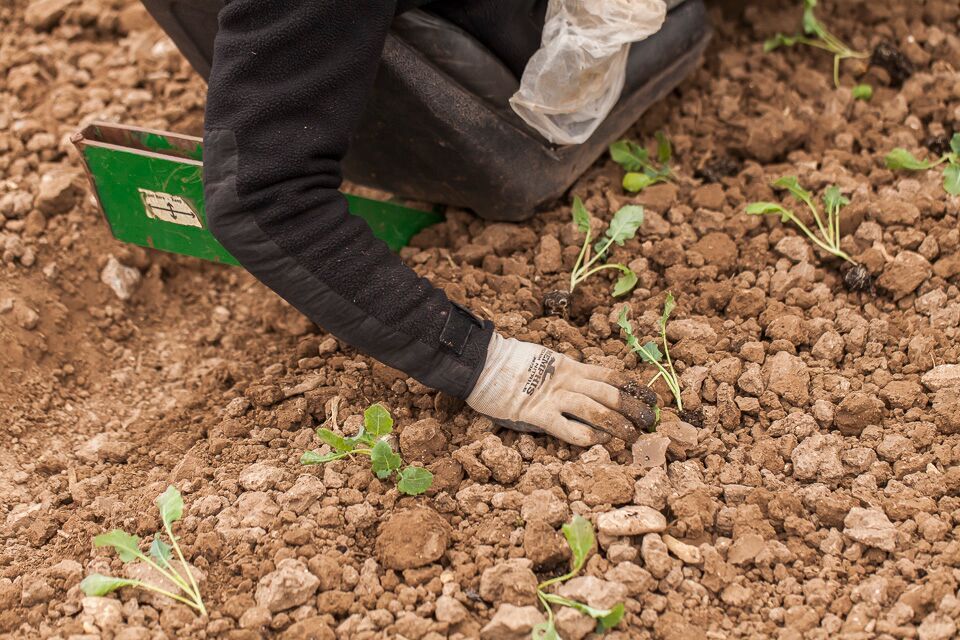 Plugging in the transplants. Photo by Scott David Gordon.
Once the broccoli is transplanted into the ground, it takes about two months for the plants to mature and ready for harvest. Once they are ready though, Vicente and his crew come through and chop off the broccoli heads. They are then sent to Hergotz to be processed for markets, CSA, and wholesale.
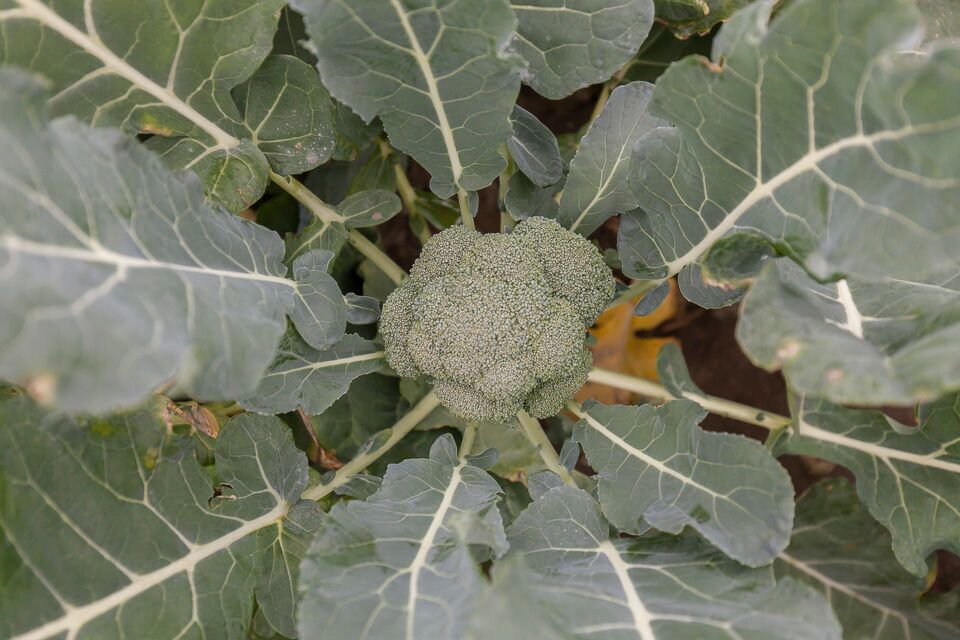 Broccoli growing in the field. Photo by Scott David Gordon.
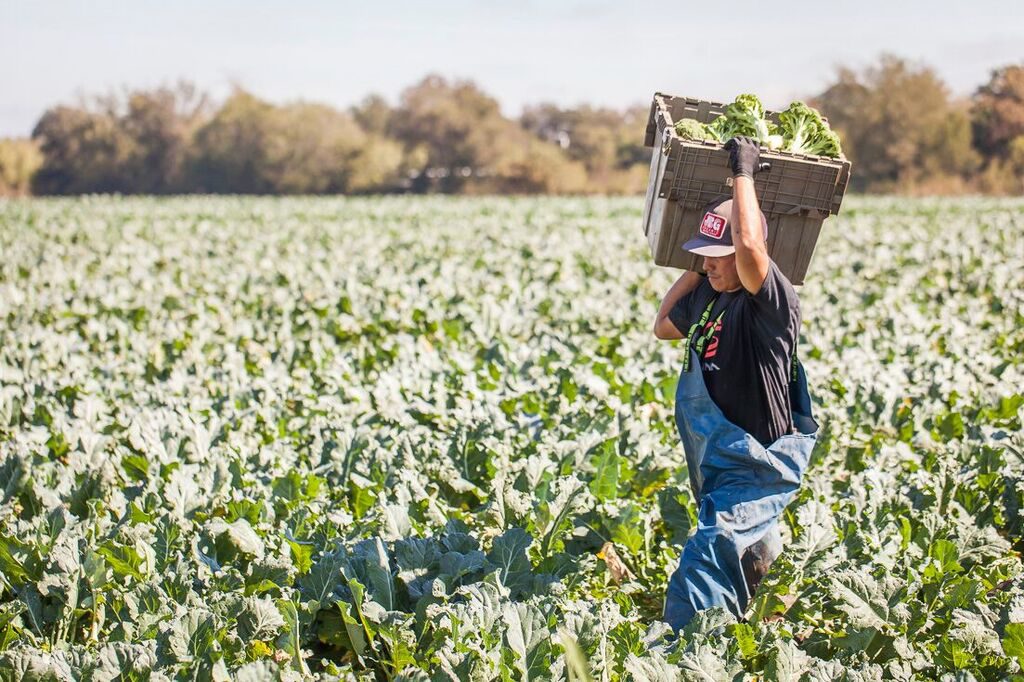 Harvesting. Photo by Scott David Gordon.
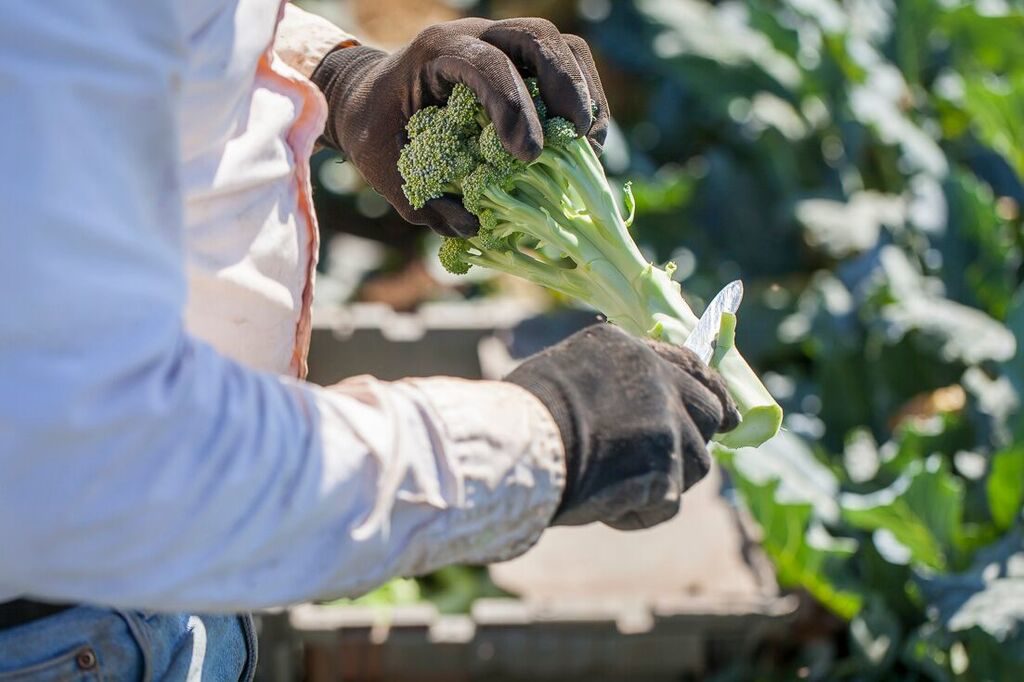 Cleaning up the stalk. Photo by Scott David Gordon.
Broccoli arrives in big white coolers or in IFCOs. We move them swiftly into our coldest cooler as these guys needs to be kept at 32 degrees to retain the highest quality. We shovel fresh ice on the top of the crops twice per day to keep the broccoli super cold! We try to mess with this crop as little as possible as it comes in clean, and is very protected by its outer leaves when it grows. When we are ready to send this crop off to market, we place them back into our big white coolers and dump more ice on them so that they remain cool throughout the day.
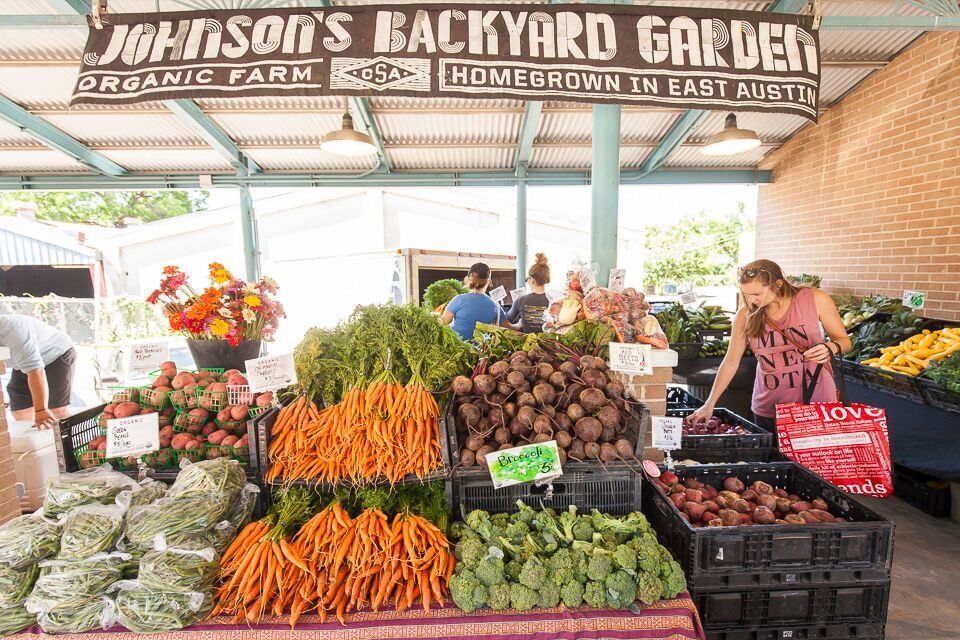 Market broccoli. Photo by Scott David Gordon.
Then they eventually make it to your dinner plate! What an adventure! Come see us at markets this weekend and grab some of this wonderful Fall crop. 'Til next time!